Settings Marquees, Formulas at the Pointer Position and the Interpretation Window
On the lower right-hand side of the Display window, under the Dial Pointer Formula window is the information window with several marquees of information for your use.
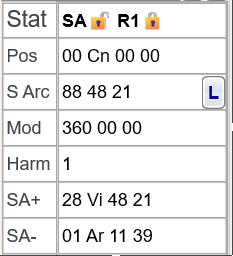
The Information Window
The top Marquee is labeled Stat and shows whether the auto Solar Arc is locked in place or not. In the various Symmetrical Dial actions, the Solar Arc is dynamic and changes when you adjust the chart. Often you may want to insert a Solar Arc into a Static style chart like an ingress or return horoscope and not have it adjust with the movement of time. The R1 also shows a lock that can be in a Locked illustration or an Open one by clicking on and toggling the illustration of the lock. The SA is Open in the above illustration and R1 is Locked. R1 refers to Ring 1 or the first ring when using more than a single ring on the Dial. A Ring is a grid of planets and factors similar to what you see laid out on a Dial. You can stack rings onto a single Dial allowing you to compare two or more charts at the same time and manipulate them as needed. When the second ring is active, an R2 lock icon is included. This is the case when using Synastry for second chart selections.
The next Marquee down is labeled Pos for Position and will show where the Pointer is in the signs. When you are displaying on the 90° Dial, this position indicator will always show where the Dial Pointer is in sign notation from the 360° dial layout. If you click on this marquee, a window appears allowing you to adjust the Dial Pointer Position.
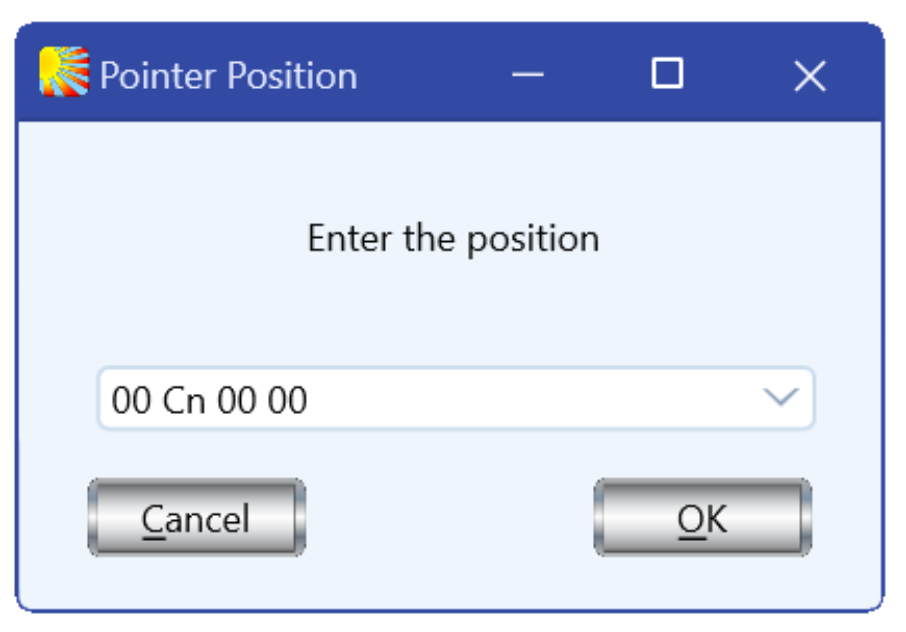
The Position Marquee adjustment window. Here it is in its default position at 0° Cancer. If you enter a position in whole degree notation or degree, sign, minutes, seconds, the Dial Pointer will go to that entered position on both the 360° and 90° dials.
Below the Pos Marquee is one labeled S Arc for Solar Arc and will list the current dynamic Solar Arc. If you click on the L button, you will Lock the Solar Arc at the displayed degree, allowing you to manipulate the Time sequence without recalculating the Solar Arc degree. The Lock will also appear as a locked lock illustration, next to SA in the Stat Marquee at the top of the window. You can manually enter a Solar Arc (left click S Arc or the S Arc value) to open the Solar Arc Type adjustment window. Click the drop-down arrow in the marquee window. This drop-down allows you to change the displayed Solar Arc to a half Solar Arc, double Solar Arc, or a Solar Arc motion for a single day, month or week. Smaller arcs are useful for advancing the Solar Arc positions in static charts, like Solar Returns, Ingress horoscopes and other timing that is either symbolic or using time in a micro sense. When you select a rate, click OK or Cancel to close the window.
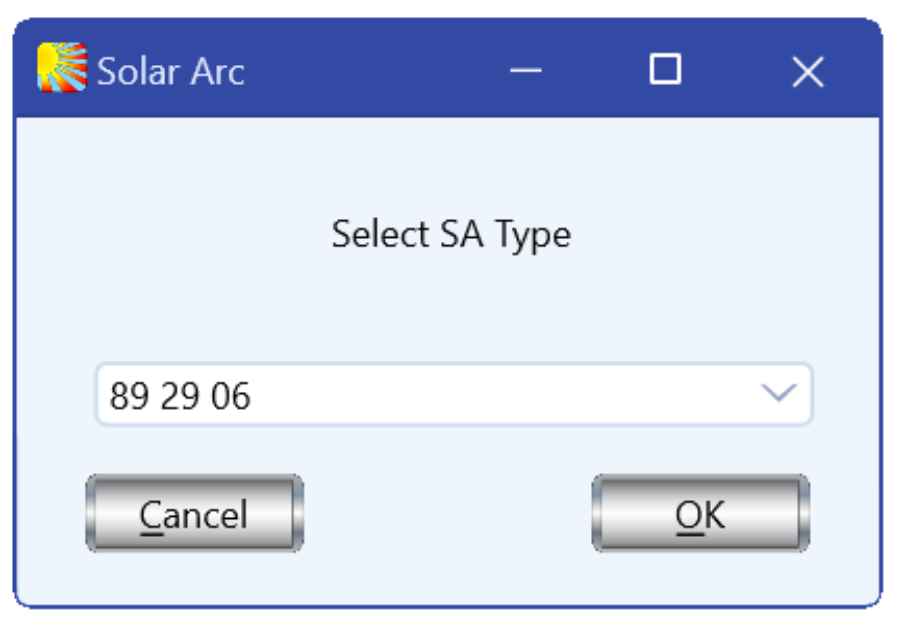
The Solar Arc Type selection, pop-up. Invoked by clicking on the S Arc marquee window, this pop-up allows you to select a specific Solar Arc for many uses.
The Next Marquee down is the Mod listing. This marquee defaults to 360° and controls the Formula Window (to the left of this Information Window). The Modulus marquee is expressed in degrees and acts like a harmonic.
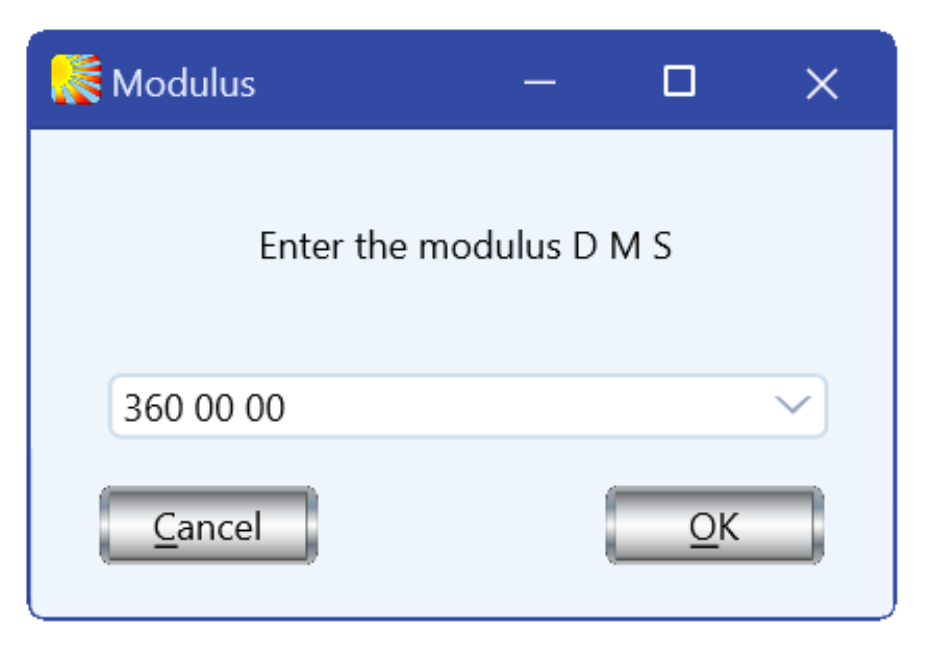
When you Left Click on the Modulus Marquee, the Modulus Window pops up. It is defaulted to a Modulus of 360° and to the right of this window is a drop down that lists various Modulus to use.
For example, if the Modulus is set to 360° and we look at the w/k we will see that the Formula Window not only contains the w/k, but also q+e–t.
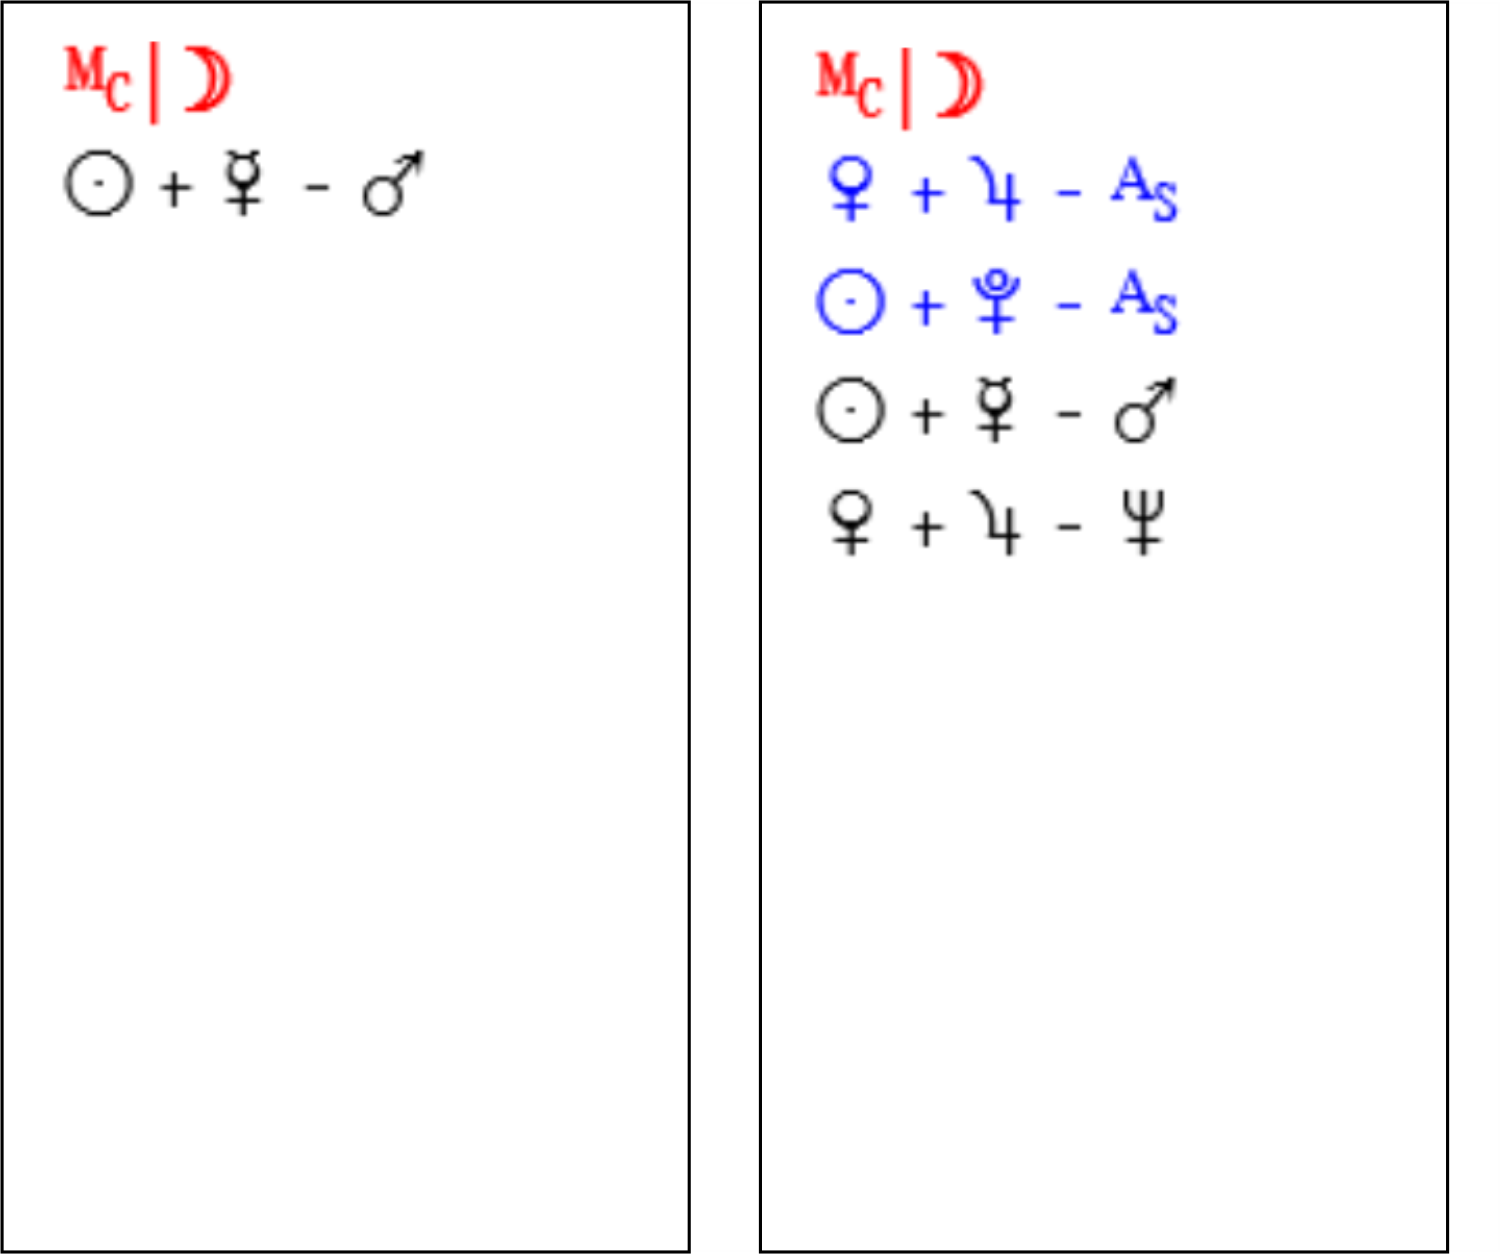
To the left is the Formula window set to Modulus 360° and on the right, it is set to 90°. You can see the lower Modulus captures a larger view of the pictures in the 4th harmonic or 90° Modulus.
If we change the Modulus to 90°, it acts like a 4th harmonic and in addition to w/k and q+e–t, we also will view r+y-j, q+p-j, and r+y-o. This allows you to see a set of deeper aspected Pictures without having to either change dials or create the harmonic on the 360° Dial.
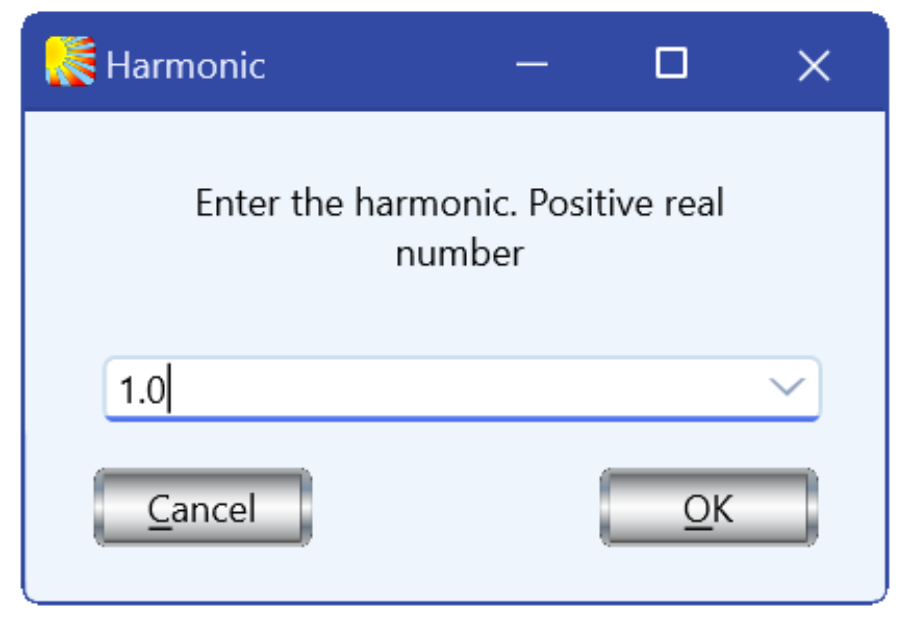
The Harmonic pop-up window is invoked by left clicking in the Harmonic Marquee. It is defaulted to the 1st harmonic and you can enter any harmonic you would like. The down arrow opens a list of early harmonics up to the 13th harmonic. Entering a new harmonic changes both the 360° and 90° to that harmonic dial layout. This is illustrated using Addey style 360° layout. Where, instead of a specific harmonic dial (like the 90° dial is a true 4th harmonic wheel), the harmonic layout is superimposed on the 360° dial. This allows unlimited harmonic illustrations in any harmonic or a harmonic with a decimal attached (like 21.7th harmonic for age arcs).
Below Mod is Harm for Harmonic. Normally the 360° dial is defaulted to Harmonic 1. When you place another number in this window, the Dial becomes modulated to the chosen harmonic. Instead of creating a Dial for each harmonic division of the horoscope, John Addey showed us a way to use a standard 360° Dial to illustrate any harmonic by laying out the Planets and Factors on the Dial as if it was a Dial made for the harmonic in question. For example, if you type into the window a number 5, the Dial becomes a fifth harmonic chart and the Dial will mimic a 72°-wheel layout while retaining the 360° structure. Type in a 4 and you will duplicate the positional layout of the 90° dial, since that is a dedicated 4th harmonic dial. Note that the Dial rotates to the right from the standard 90° dial and that is because the 360° orients to Aries on the right. The ability to set harmonics on the fly creates a major flexibility for the user.
The last two Marquees are the 360° labeled positions of the Solar Arc (SA+ and SA-) taken from wherever the Dial Pointer is located. The SA+ is the Dial Pointer location Plus the Solar Arc listed in the Solar Arc Marquee, above, and the SA- is the Dial Pointer location minus the Solar Arc as listed in the Solar Arc Marquee. Clicking on either of these positions will move the Dial to the Clicked on Solar Arc position and this action will advance or diminish these listings (since you will have moved the Dial Pointer).
To return the pointer to its original position after clicking SA+, press the SA- button. Similarly, to return the pointer to its original position after clicking SA-. Press the SA+ button. Repeated clicks of either button continue moving the pointer forward or backward by the current solar arc with each click. If you get lost by forgetting the number of SA+/- hits you have made. The Home button will return the dial to the chart you originally entered.
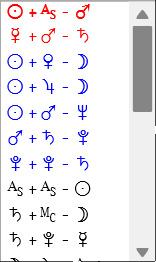
The Formula Window
To the Left of the Information Window is the Formula Window. This Window lists the Formulas and Midpoints in orb where the Dial Pointer is located. This listing is affected by whatever Modulus is in effect. The listings in red are exact to 2.5’ of arc on the 90° dial and 5’ of arc on the 360° dial. The listings in blue are within 10’ of arc and the black ones are within 30’ in arc on the 90° dial and 30’ for blue and 60’ for black lines on the 360° dial. Double clicking on any formula makes the Dial Pointer go exactly to the formula in question within 2 seconds of arc.
To the Left of the Formula Window, in the center of the Display Window is the Interpretation Window. This window displays the current interpretation of the Planets, formulas called Sums and Differences, midpoints and, in particular, the 3 planet (or including factors) formulas of the Lots, Parts, Sensitive Points, or Planetary Pictures (they are all different names for the same style formula expressed as A+B-C). When you click on a single planet (or factor), the interpretation for the planet (or factor) is shown. The same will occur when you select a midpoint. The Dial Pointer is not on either formula and the interpretation is for convenience. The sum A + B and the Sum A+B-Aries are one and the same formula since Aries is considered 0.
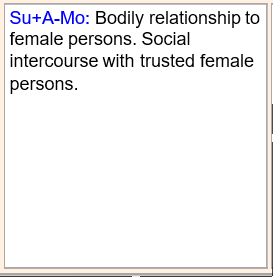
The Interpretation Window with a standard formula.
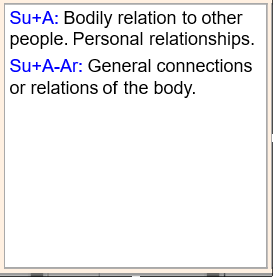
The Interpretation Window with a Sum or Midpoint delineation showing the two ways of expressing a Sum formula to give you an idea of how the planets (or factors) combine.

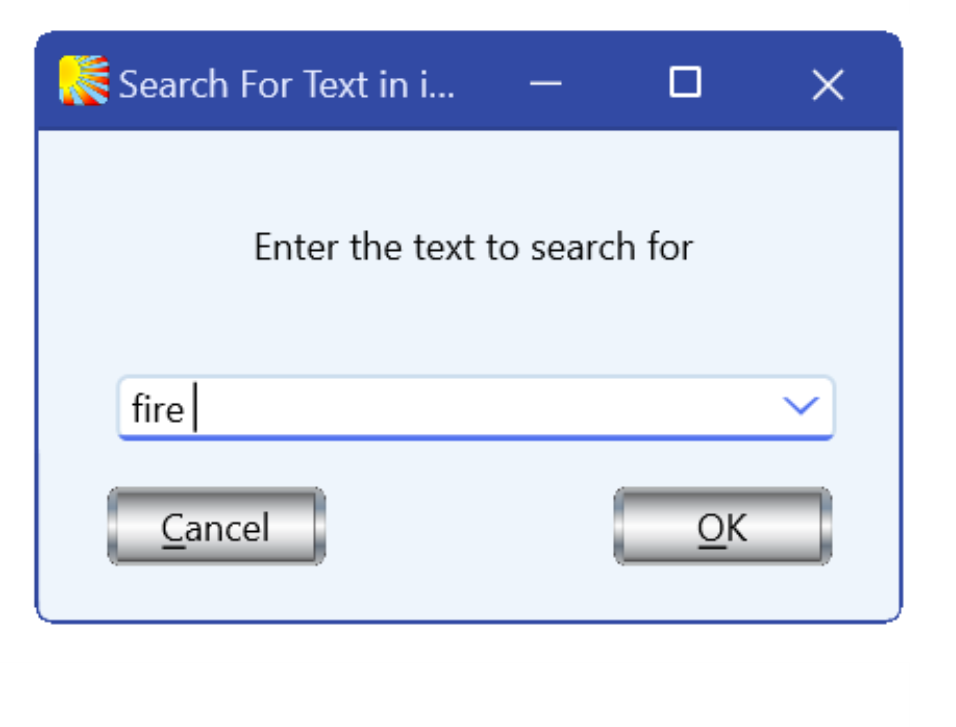
The Search Button, above the 90° Dial toggle button, is used to search the interpretations database for matching keywords. Left click Search to open the “Search for Text” window. Enter the desired text. When searching you can specify it to look for full words only by putting a space after the word, or by surrounding it with double quotes. This is useful when searching for something that is part of other words. For example, if you just type war in the search box the program will look for anything that contains the letters making up the term war, like towards, warden, etc. By placing quotation marks around war, like “war” (or a space after the word in question), the program will only search for the specific word, war. It will also look for plurals. For example, searching for war with quotes will also find wars. Below the illustration shows a search for fire. You can also list a string of words and if they match something in the Interpretation Database, the proper interpretation will appear in the Interpretation Window. Click OK to initiate the search. Results are displayed in the Interpretation Window. When multiple entries are returned, use the scroll bar to find appropriate choices. Left click on any blue sensitive point combination to locate it with the dial. The Search function will cull through any interpretive database assigned to the Solar Fire Symmetry section.
 |
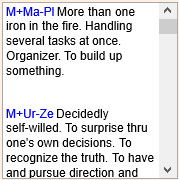 |
The Search text entry window with the search for “fire” and the resulting formulas and interpretations will be listed.
Remember the interpretations are intended as guides to help you by seeing observations made by others and allowing you to add ideas that may be helpful in interpreting the horoscope. They are by no means exhaustive and shouldn’t be taken as the end all and be all of delineation. The main text data base is compiled by Dorothy Johnson for Nova Chartwheels, she has done a wonderful job in guiding us all to a better understanding of the meaning in a chart. These interpretations are for the meaning of Sensitive Points or uncompleted Planetary Pictures. They talk about how two planets (including factors) are influenced by a third planet or factor. When the formula is completed by another planet, factor, or a component from another horoscope, the meaning changes to include the material that completes the Picture in question, but the interpretations only go up to the A+B-C style formulas. More complex formulas in the Interpretation Database are rare.
Solar Fire X by Astrolabe Inc Copyright © All rights reserved.